Introduction
A staircase does more than connect two floors. It sets the tone for a room, and the stringer, the structural spine running beneath the treads, determines whether that transition looks clean or clumsy.
A wall stair stringer carries the stair assembly's load while creating a finished edge where the stairs meet the wall. Get the dimensions wrong, and you're looking at uneven treads, code violations, or a costly rebuild.
Many homeowners and contractors struggle with the same questions: How does a wall stringer differ from an open one? What dimensions and wall conditions actually matter? Which materials hold up over time? And when does this stop being a DIY project?
This guide walks through each of those decisions, from design geometry to material selection to installation quality checks.
Key Takeaways
- Wall stringers (closed stringers) conceal tread and riser edges for a clean finish along the wall.
- Lock riser, tread, stair width, landing, and wall measurements before fabrication begins.
- Anchor the stringer to verified framing—not drywall or finish surfaces alone.
- Coordinate handrails, guardrails, and finish tolerances early to stay code-compliant.
- Pair custom metal stringers with wood, glass, stone, or stainless steel for modern designs.
What Is a Wall Stair Stringer?
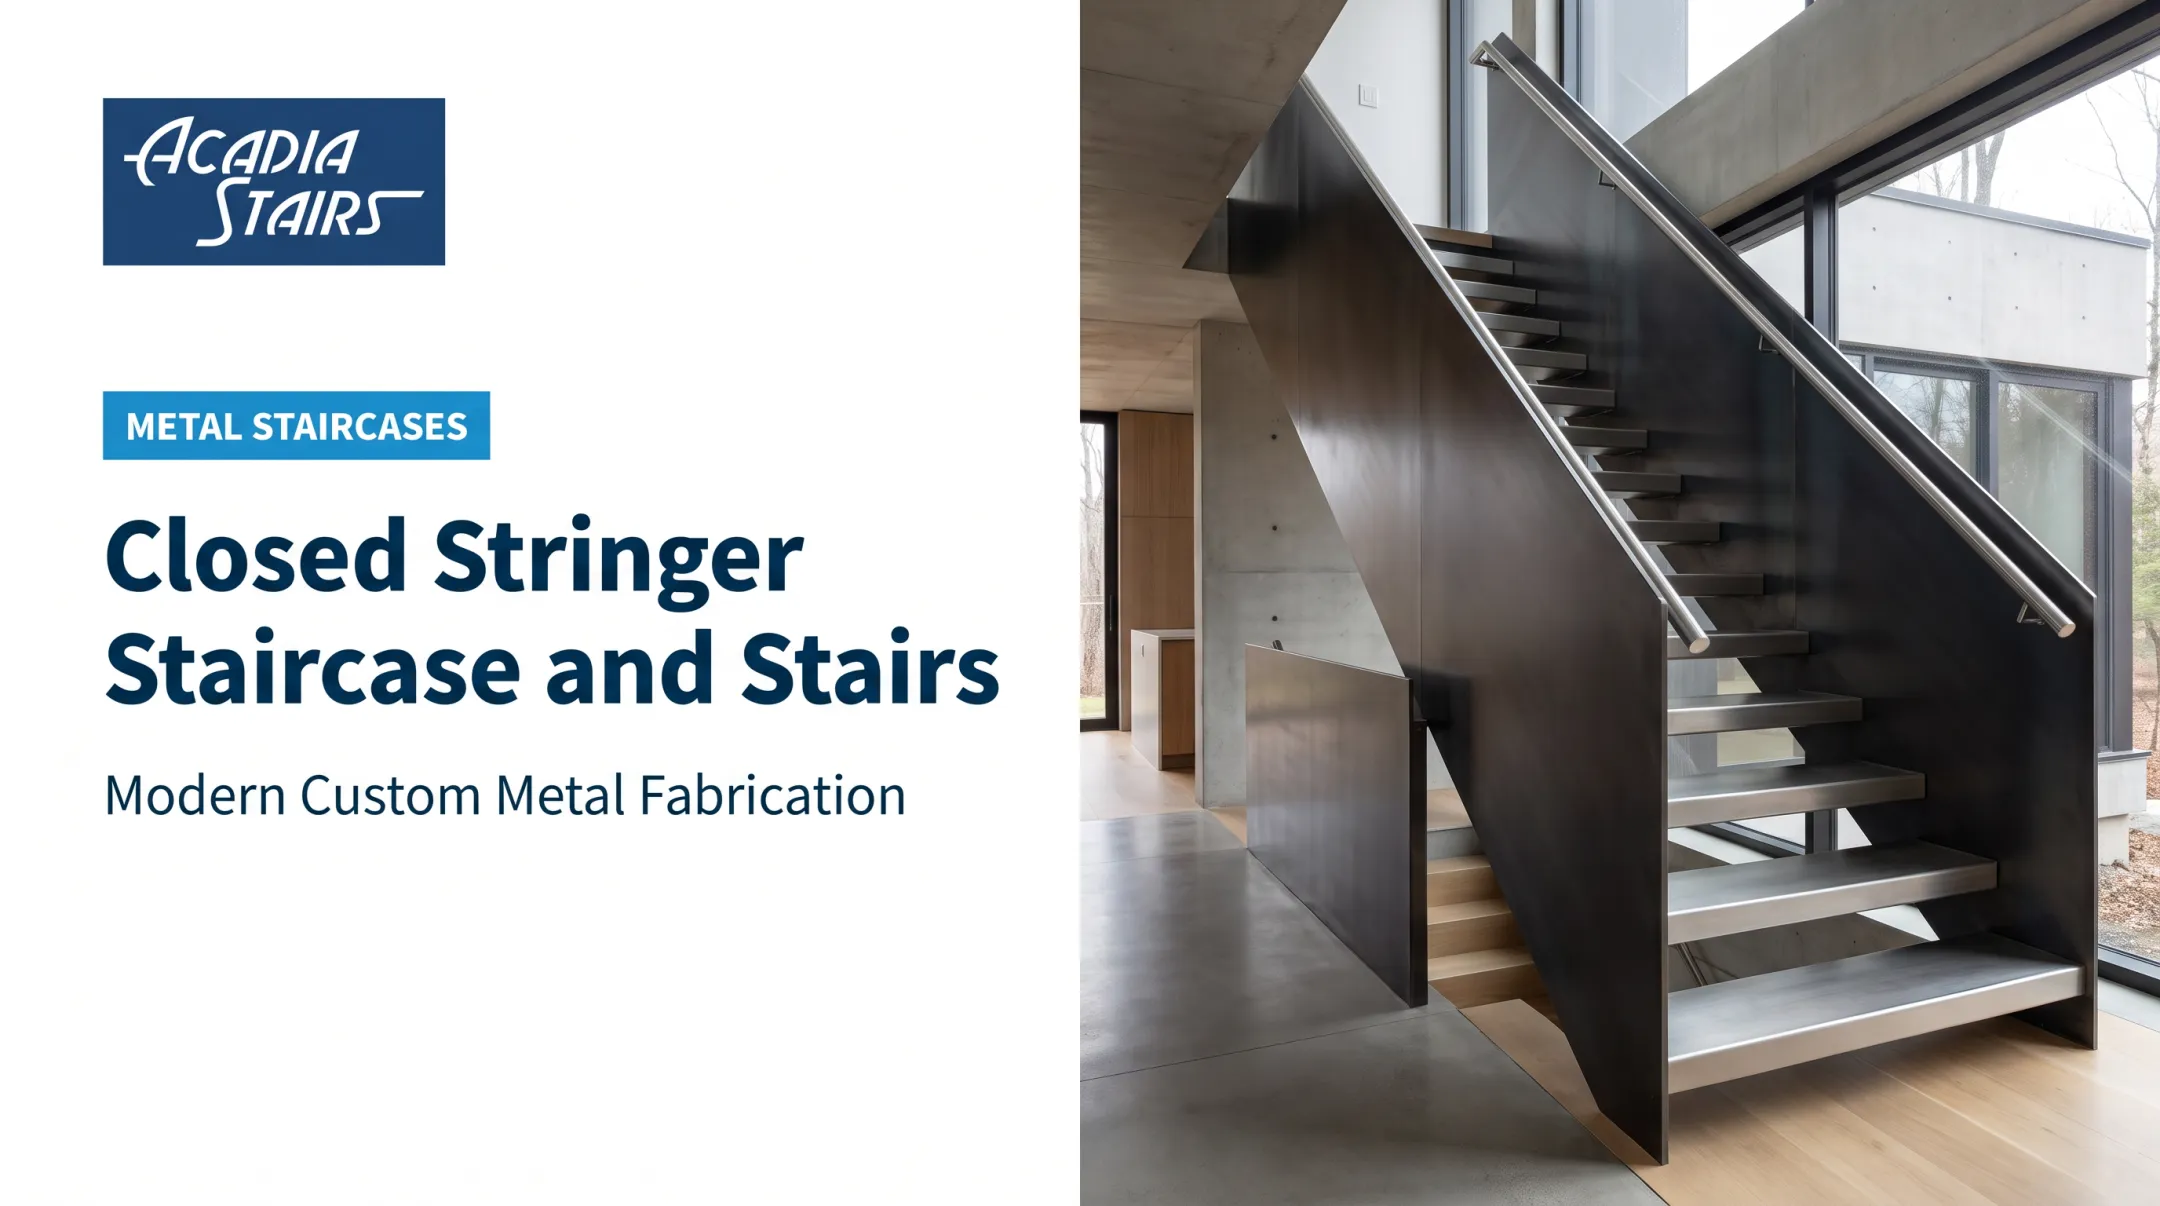
A wall stair stringer is the sloped support member installed against a wall. It encloses the ends of the treads and risers instead of leaving them exposed, and acts as the structural backbone on one side of the stair—hidden behind a continuous finished face.
Wall Stringers vs. Cut Stringers
The industry draws a clear line between two stringer types:
- Closed (wall) stringer: Presents a continuous, uninterrupted side profile. Tread and riser ends sit inside notches or dadoes, fully concealed.
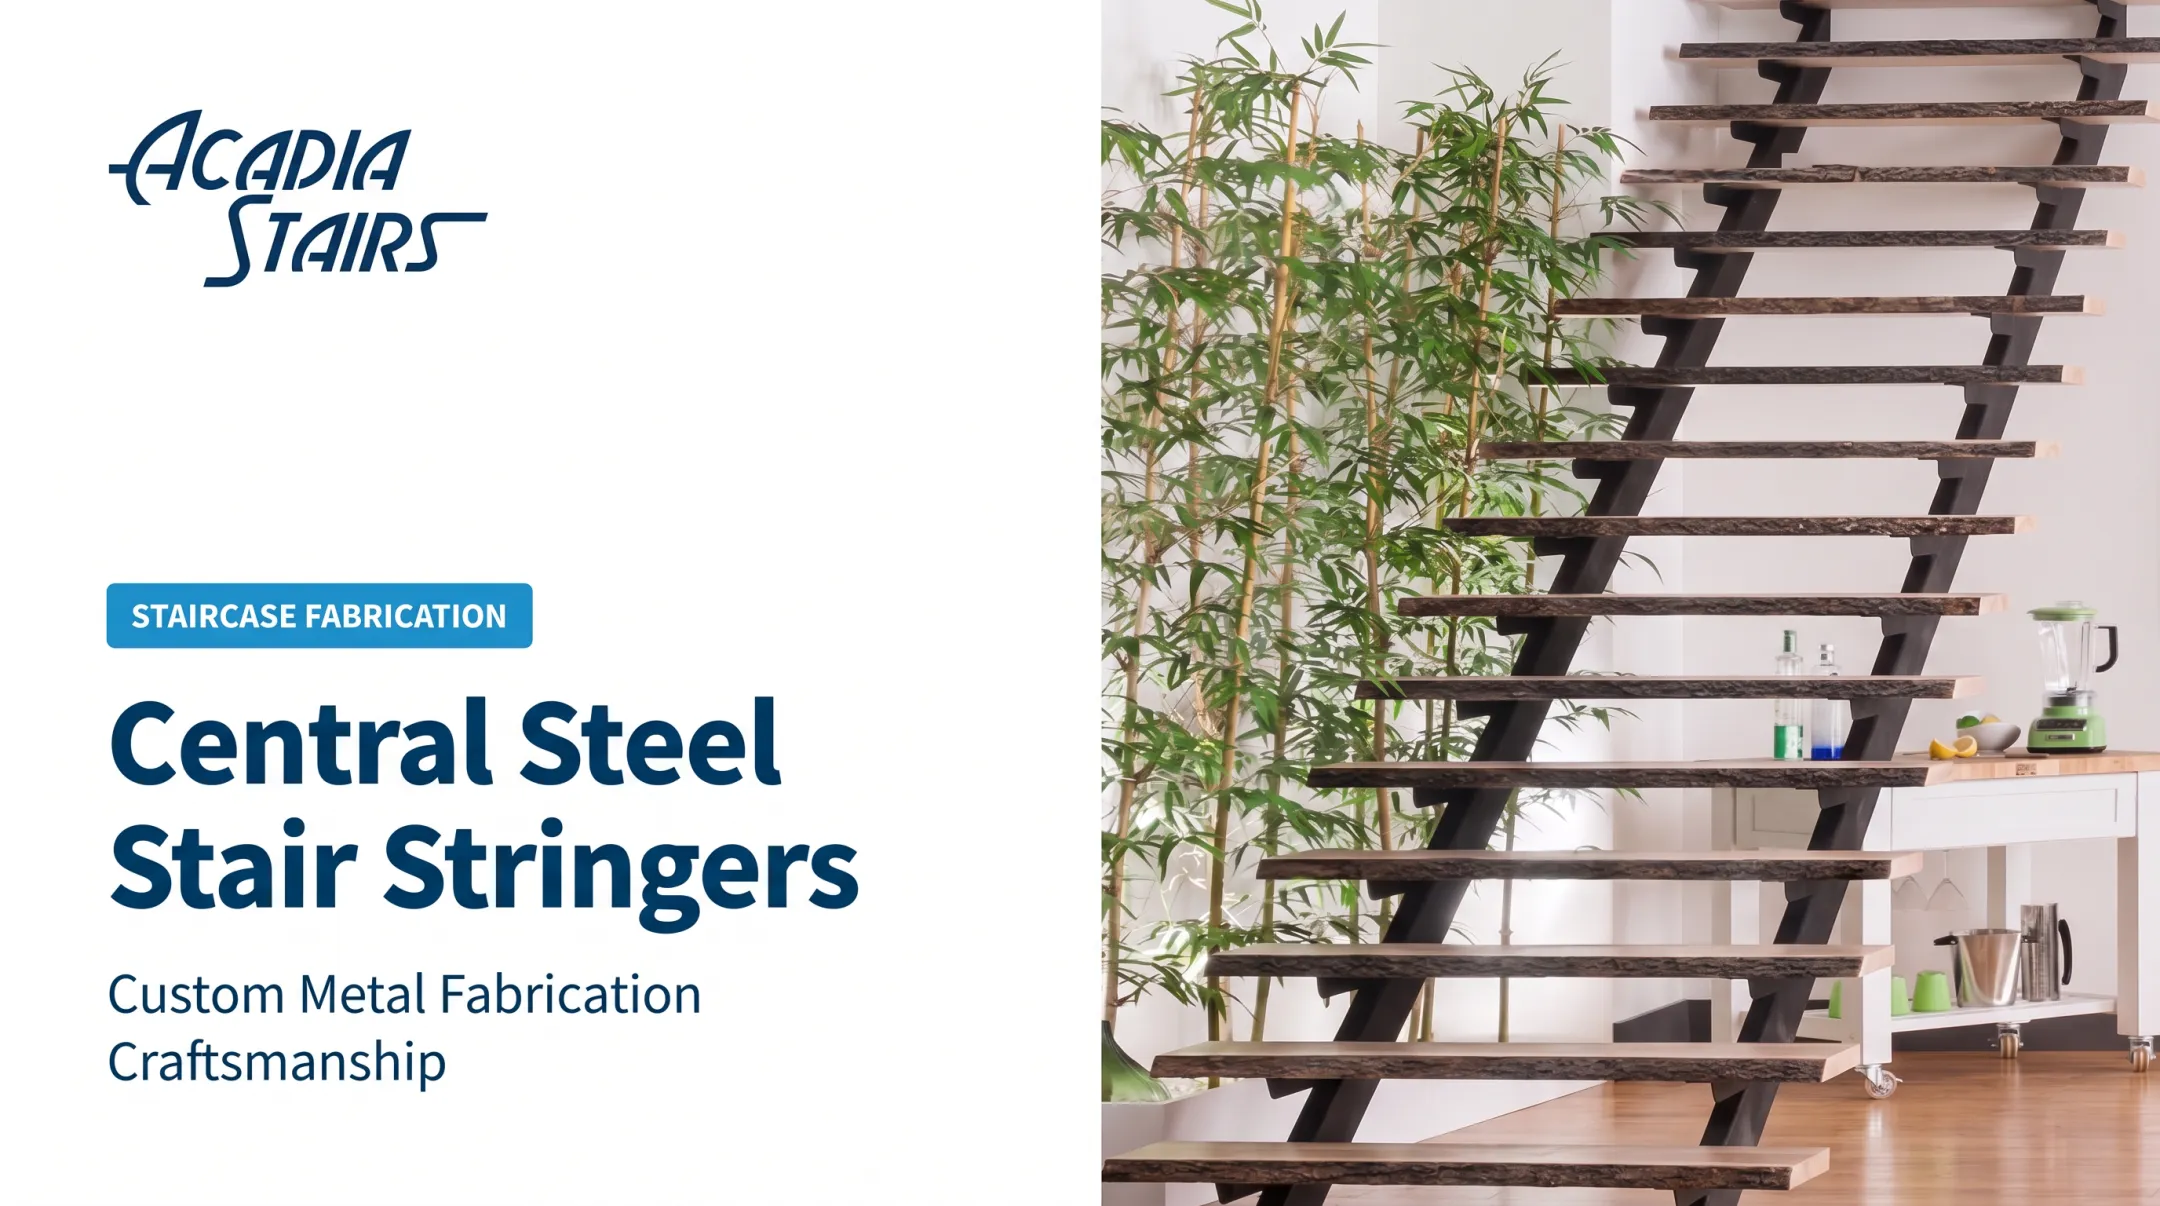
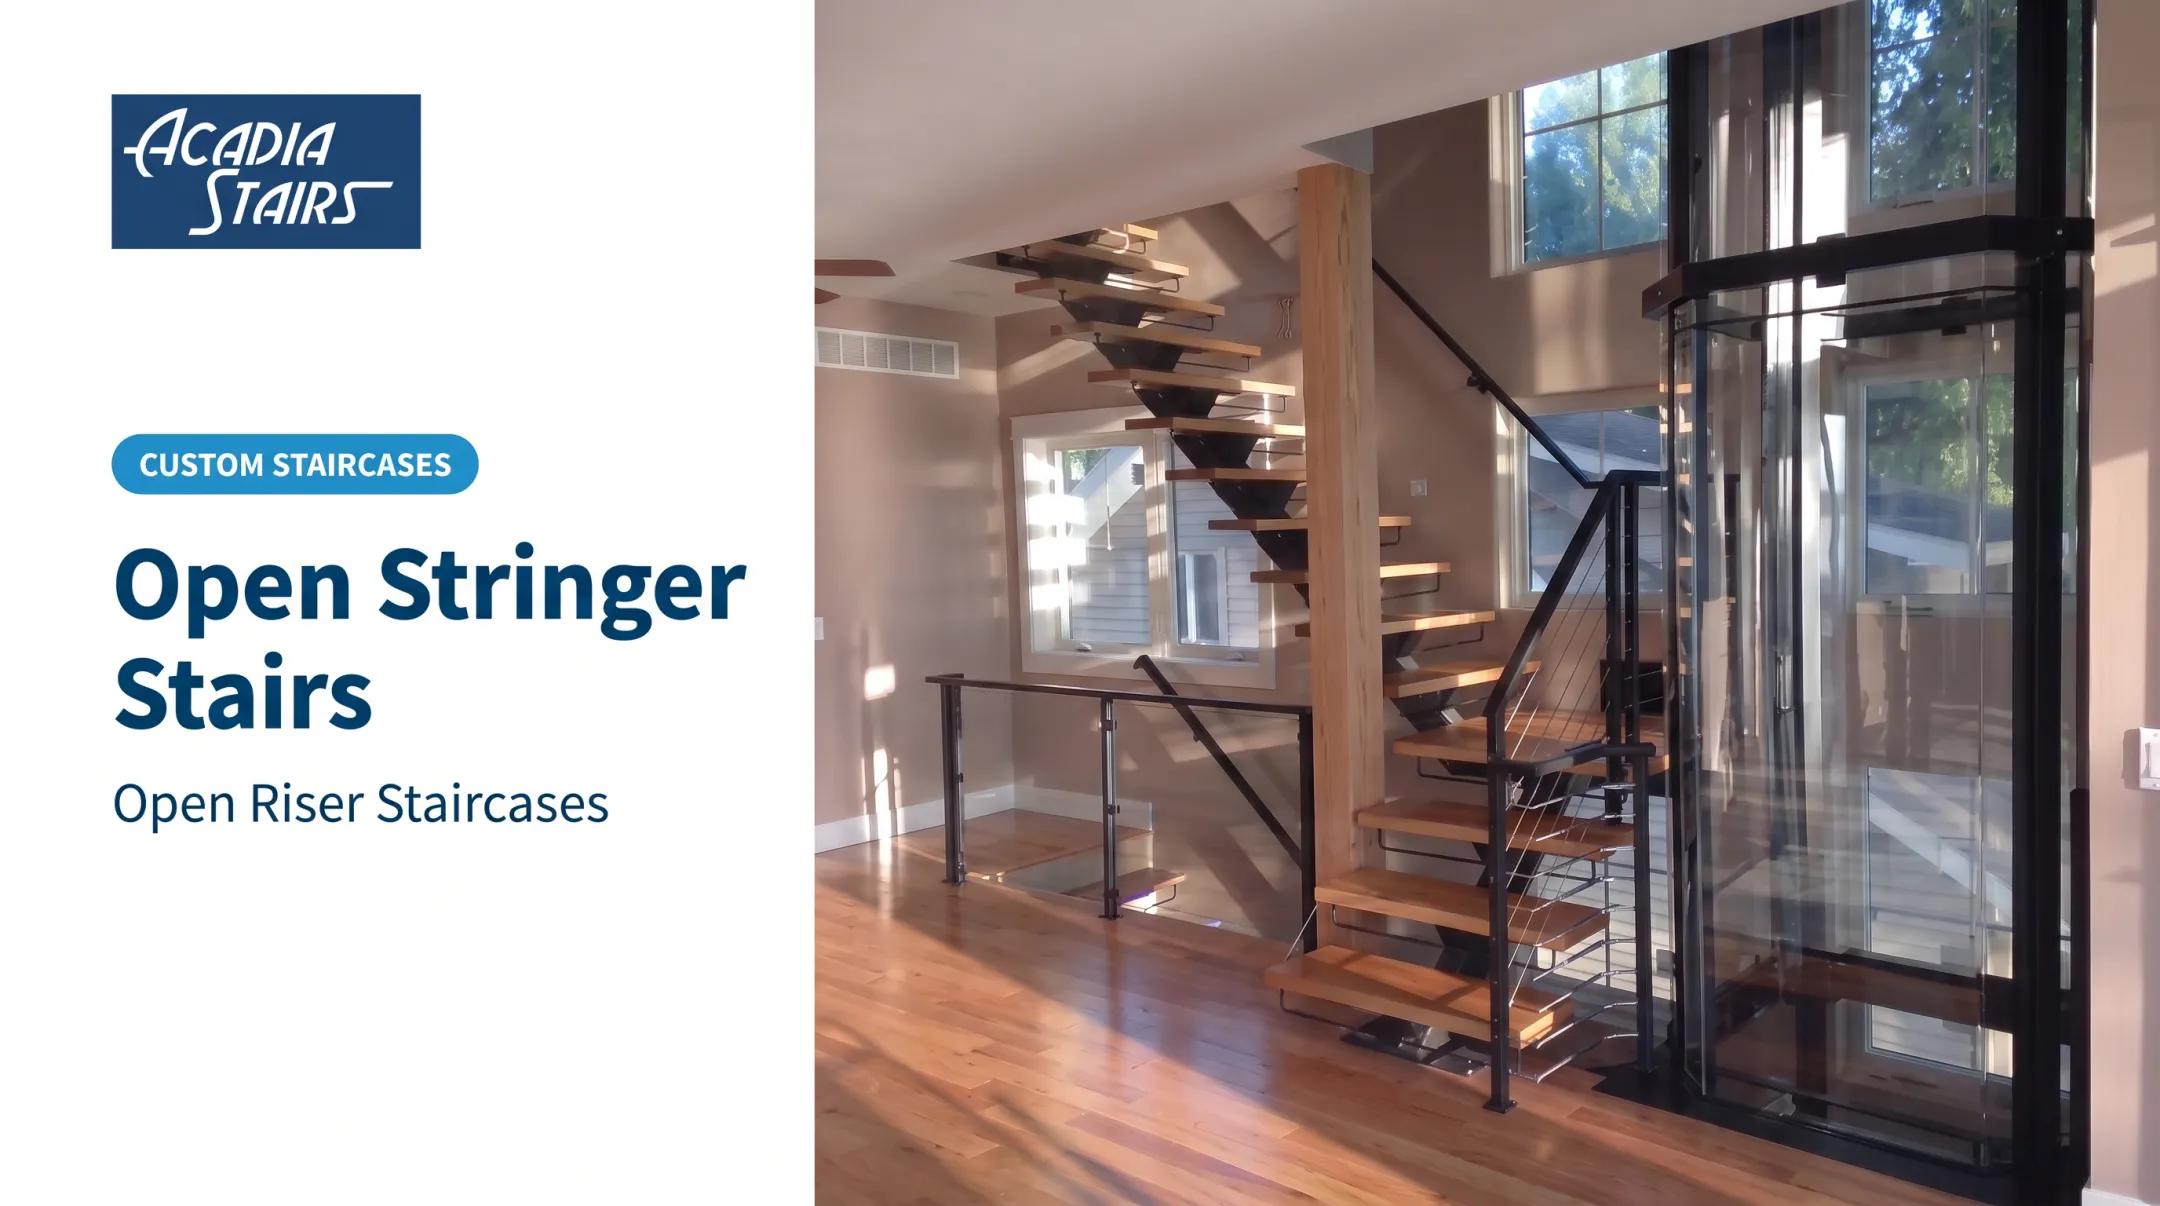
- Cut (open) stringer: Follows the zig-zag profile of the steps themselves, leaving tread and riser ends visible from the side.
According to InterNACHI's stair stringer inspection guide, a closed stringer is also known as a routed, housed, boxed, solid, or side stringer. Builders sometimes use "carriage" and "stringer" interchangeably depending on the region.
Terminology varies enough between designers, builders, and manufacturers that project drawings should spell out the intended stringer type rather than relying on the label alone.
Structural and Aesthetic Roles
A wall stringer does two jobs at once:
- Structural — It helps transfer stair loads down to the supporting framing, landing, or floor structure.
- Aesthetic — It creates a clean, finished edge where the staircase meets the wall, hiding rough cuts and construction gaps.
Wall stringers are most common in straight flights, stairs between two finished walls, and contemporary residential or commercial interiors that want a minimal, uninterrupted line.
The wall itself is not automatically the stringer's structural support. The design must identify which framing, landing, or floor member actually receives the load. A drywall surface alone cannot carry stair weight, no matter how solid it looks.

Beyond load path, the stringer also sets finished stair width, baseboard transitions, and wall protection—and how the run reads against the surrounding architecture.
How to Design a Wall Stringer
Good stringer design starts long before any cutting or fabrication. It depends on accurate numbers.
Step 1: Complete the Site Survey
Record every relevant dimension before drawing anything:
- Total rise and horizontal run
- Stair width
- Floor-to-floor dimensions
- Landing locations
- Wall thicknesses and finished-floor elevations
- Position of existing framing members
Step 2: Establish Stair Geometry
Riser and tread dimensions aren't flexible guesses; they're governed by code and by consistency requirements within the same flight. Under the 2021 IRC and IBC, the benchmarks look like this:
| Requirement | Residential (IRC R311.7) | Commercial (IBC Ch. 10) |
|---|---|---|
| Minimum width | 36 in | 44 in (36 in if occupant load under 50) |
| Minimum headroom | 6 ft 8 in | 6 ft 8 in (80 in) |
| Maximum riser height | 7¾ in | 4–7 in |
| Minimum tread depth | 10 in | 11 in |
| Max riser/tread variation | 3/8 in | 3/8 in |
| Handrail height | 34–38 in | 34–38 in |
Source: 2021 IRC R311.7 Stairways
Code adoption varies by jurisdiction, so confirm the locally effective edition and any amendments before finalizing dimensions. Also factor in tread thickness, nosing, flooring buildup, and how the top step meets the upper floor.
Step 3: Plan the Landing Connections
Decide how the stringer terminates at both ends:
- Does it bear directly on the lower floor?
- Does it connect to a landing beam or rim member?
- Does it need a separate bracket or support detail?
Step 4: Coordinate With Wall Finish
Design to the finished wall, not just the framing. Account for drywall, plaster, tile, or paneling thickness when you set stringer position.
Decide how the stringer meets the wall:
- Tight to the finished surface
- Set back with a deliberate reveal
- Trimmed and caulked at the seam
Out-of-plumb walls are common, so plan for field templates or adjustable connections from the start.
Step 5: Verify With a Template or 3D Model
Before cutting anything final, check the fit with a full-size drawing, digital model, or physical template. NOMMA's fabricator case studies describe crews field-measuring completed openings, checking code compliance, and overlaying those measurements against shop drawings before fabrication starts. That workflow catches mismatches early, not after installation.

At Acadia Stairs, the same checkpoint drives blueprint development. Once city-code compliance is confirmed, finished-floor-to-finished-floor height, stair width, configuration, and stringer style are locked into a shop drawing. Fabrication starts only after that drawing is signed off.
Choosing Materials and Finishes
Material choice affects appearance, maintenance, and how the stringer connects to everything else on the stair.
Comparing Common Options
- Wood: Traditional look; works well with routed or housed notches. Moisture exchange affects dimensional stability, so humidity control matters for longevity.
- Painted carbon steel: Common in flat plate or channel form. Paint resists corrosion, but surface prep, edge treatment, and drainage matter as much as the coating.
- Stainless steel: Chromium forms a passive film; molybdenum helps in coastal or deicing-salt settings. Wrong alloy choice or carbon-steel tool contamination can still cause corrosion.
Why Metal Suits Modern Stairs
Metal wall stringers fit contemporary design because they can be custom fabricated to nearly any profile, then paired with wood, glass, or stone treads for contrast.
Acadia Stairs designs and fabricates custom modern metal staircases to exact specs. Stringers can use ¼" × 10" plates, 3/8" × 10" plates, or fabricated box beams, depending on load and look.
Finish options include powder coating, brushed stainless, and special-request finishes such as blackened steel or gun-bluing—often paired with wood, stone, or glass treads.
Powder coating in particular resists impact, moisture, UV exposure, and abrasion better than standard liquid paint, according to the Powder Coating Institute, which makes it a common choice for stringers that see daily foot traffic near walls.
What to Evaluate Before Finalizing a Finish
- Wear resistance and moisture exposure at the specific installation site
- Cleaning requirements over time
- Whether welds or fasteners will remain visible
- How the finish coordinates with railings and other metal components nearby
How Wall Stringers Are Installed and Supported
Installation quality determines whether a well-designed stringer performs the way it was engineered to.
Installation Sequence
- Verify drawings and measurements — Confirm approved shop drawings match actual site conditions.
- Confirm supporting structure — Identify the framing or engineered backing that will receive the load, not just the wall surface.
- Dry-fit the stringer — Check the stair opening before permanent attachment.
- Check alignment — Confirm consistent geometry, adequate clearances, and a clean relationship to walls and landings.

A stringer should never be fastened to drywall or unverified wall surfaces alone. Both the 2021 IRC and IBC require a complete structural load path from the stair down to the foundation, so bolts, brackets, or welds must land on real structural members—framing, ledgers, hangers, or engineered bearing points.
Common Installation Details
- Check bottom bearing at the lower floor and top connection at the landing.
- Coordinate brackets, plates, bolts, or welds with the approved structural design, not field improvisation.
- Protect finished walls and floors during handling.
- Never force a fabricated stringer into an opening that doesn't match the approved dimensions.
Treads, risers, nosing, handrails, and trim all need to line up with the stringer so the finished stair stays level, consistent, and visually clean.
Post-Installation Quality Checks
After installation, verify:
- Tread and riser consistency across the full flight
- Tight (or intentionally designed) wall transitions
- Secure connections with no movement or squeaking
- No finish damage from handling
- Proper alignment with upper and lower floors
Stringer design and installation directly affect structural safety and code compliance. Complex, custom, or metal stair projects should go through a qualified professional and local inspection.
When a project needs coordinated design, fabrication, and durable finishes, Acadia Stairs works with homeowners, contractors, architects, and designers across the continental United States and Hawaii. Custom stringers are built to exact specifications, and nationwide shipping is included.
Frequently Asked Questions
What is a wall stringer?
A wall stringer is the closed or enclosed support member installed along a staircase wall. It supports the stair assembly while concealing the tread and riser ends behind a continuous finished face.
What is the difference between a wall stringer and a cut stringer?
A wall stringer creates a continuous, enclosed side profile, while a cut stringer follows the zig-zag shape of the steps and leaves tread and riser edges visible from the side.
Do wall stringers support the entire staircase?
They can be a major structural component, but the full load path depends on the stair design, landing connections, framing, and any additional supports specified by the engineer.
What materials can be used for a wall stair stringer?
Wood, painted steel, stainless steel, and custom-fabricated metal assemblies are all common. Selection depends on structural requirements, appearance goals, environment, and applicable building codes.
Can a wall stringer be installed against a finished wall?
Yes, but the design must account for finished-wall thickness, surface irregularities, trim details, and reliable access to the structural framing behind it.
Should a wall stair stringer be custom designed?
Custom design is recommended whenever dimensions, wall conditions, or materials fall outside standard assumptions. Professional review helps confirm safety and code compliance before fabrication begins.